Day 1
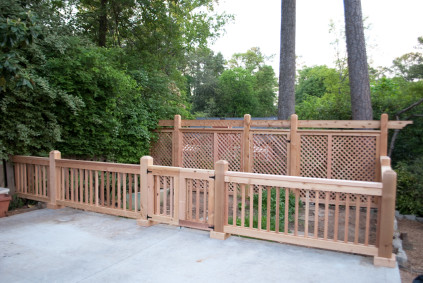
The materials were delivered and the carpenter started laying out the fence. I designed the fence to completely enclose the garden as well as screen our neighbors. The lattice also allows for more space in the garden with a vertical climbing surface. Luckily we face south so the lattice will not block the sunlight.
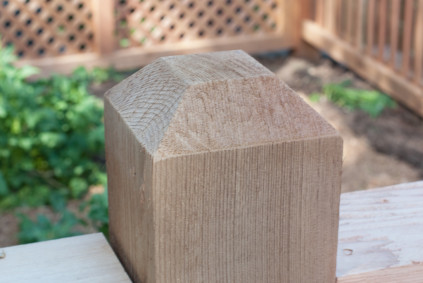
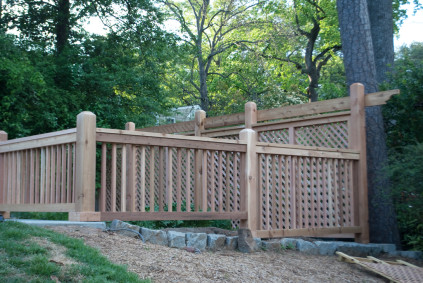
Symmetry and balance are very important in a design. The entry gate was designed to center on the driveway and the lattice gate leading to the compost area is centered on the entry gate. The front and side fences are picket style panels with 2×4 cedar boards on each side of the top and bottom rail and a 2×6 caps the top. The 6×6 posts are 6 inches above the top rail and have a chambered design. The posts sticking above the rail gives the fence a more custom look.
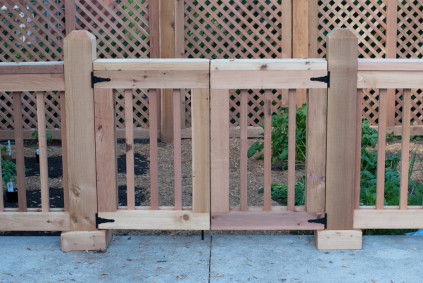
By the end of the day, the posts were set on the driveway, on the side and back screen area. The two front panels were installed.
Day 2
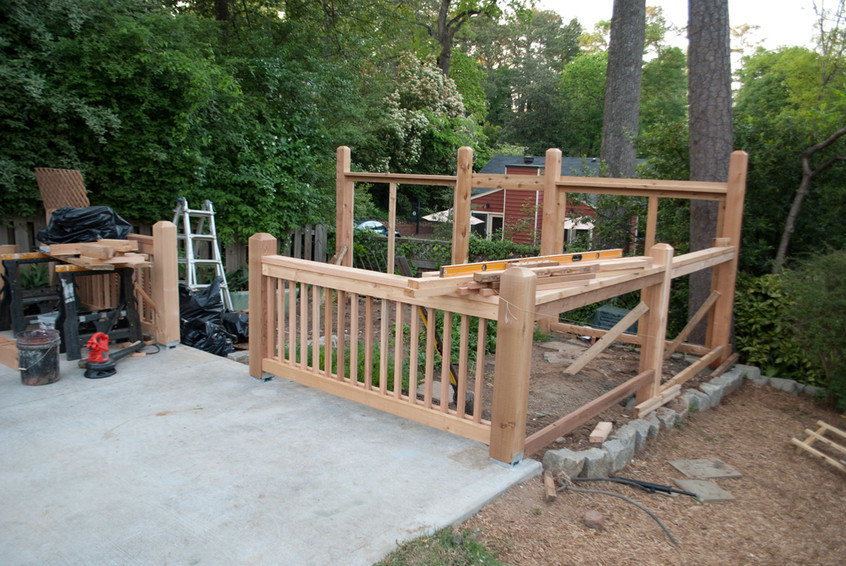
The lattice panels were installed. The 2×8 decorative board across the back screen was installed. We used a curvy style cut out instead of a plain straight cut. The lattice and entry gate was installed. Everything was finished except for adjusting the gate.
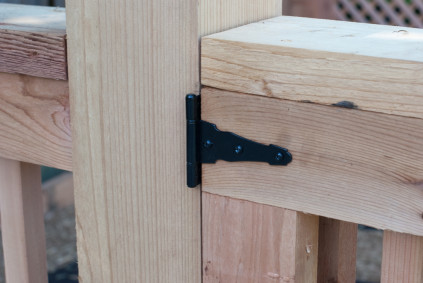
Note: The hardware selected by the carpenter was too large so I bought this hardware. Details really make a difference. Do not settle on something you do not love. When working in home building, I watched architects fuss over the details and they were right. It makes everything tie together and finish the design.

Day 3
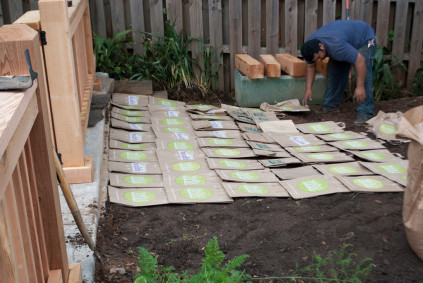
Three Brothers Landcape removed the granite border from the old garden, leveled out the soil, placed brown bags over the existing soil, and poured the compost from Farmer D on the bags. Then they poured the cedar mulch in between the soil beds. The mulch paths are 18″ wide and are in a geometric pattern allowing for border beds and four planting beds on each side of the center mulch path which I made 3 feet for easy wheelbarrow access to the compost pile.
Day 4
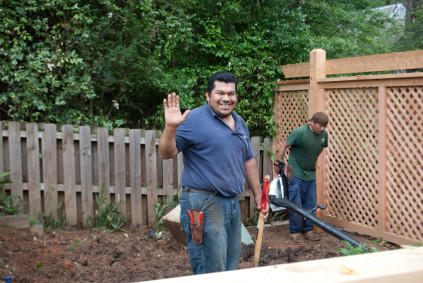
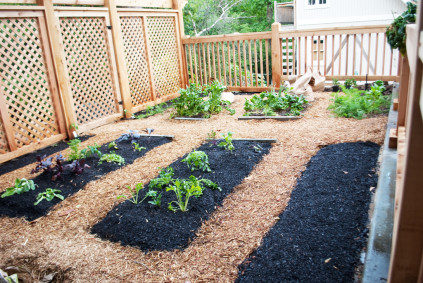
Today we moved over the concrete block retaining wall a foot, added more compost, refined the lines, moved the cast iron sink out of the way, and planted the two interiors beds and along the lattice, front and right side. It was a short day.

Day 5
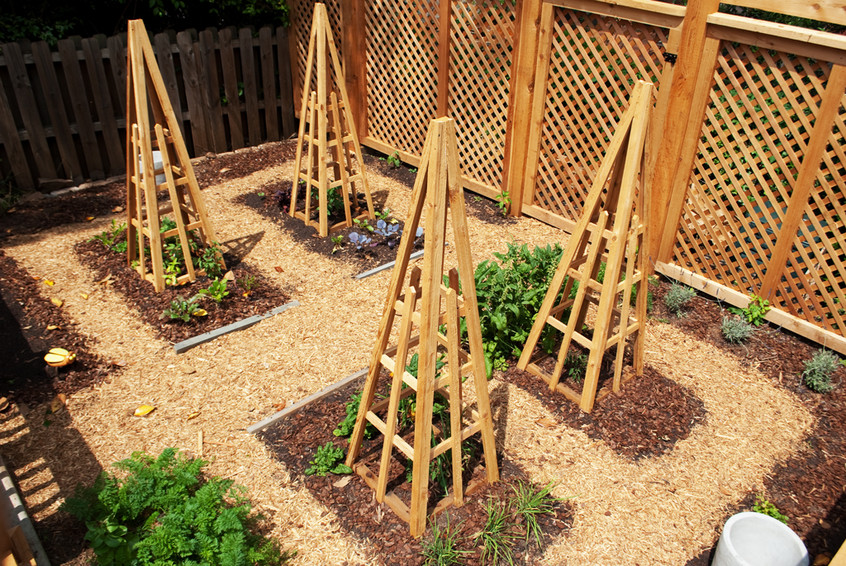
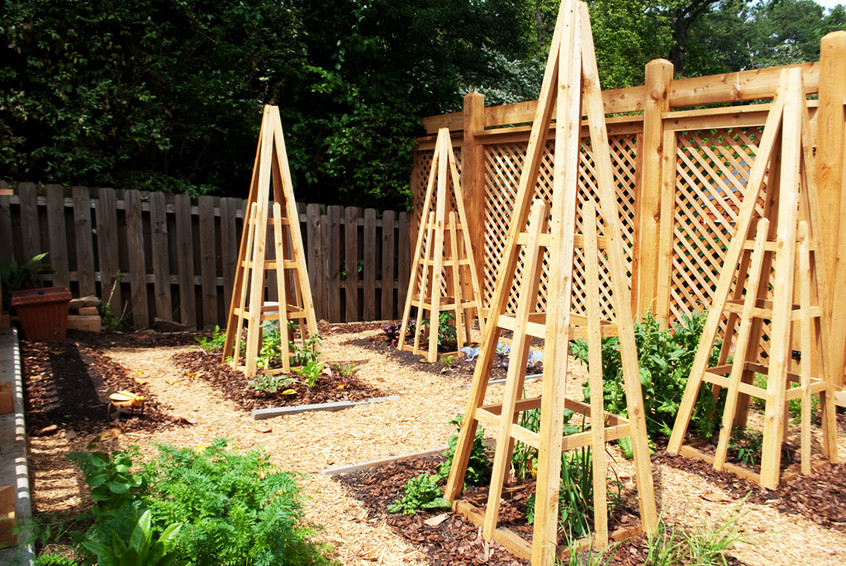
We installed the 4 obeliscks, removed the cast iron sink, added dirt on the left side near the retaining wall, added pine mulch to the planted beds, and watered. Everything is ready to for planting the second phase in two weeks. It should only take an hour or two to plant and mulch the rest of the beds.
Before
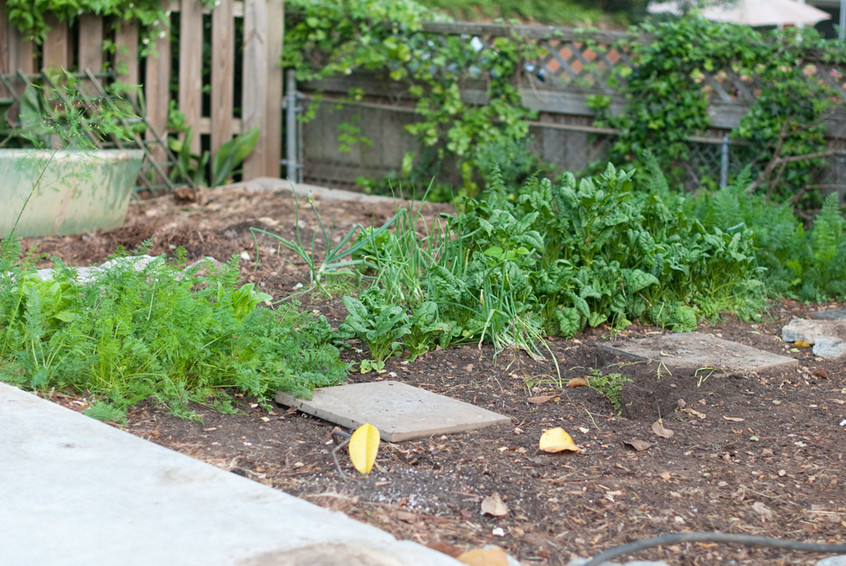
Before we took this picture, we removed the metal fence and relocated the compost area to the very back of the property. The original garden was only on the right side of the driveway. We needed more space and I wanted a garden with more privacy.
After
