There are several different “philosophies” on roasting a chicken. Some people insist on stuffing the bird, others insist this adds steam and it is best to just use salt and pepper to season it. I love both methods and decide which one I will use based on time or if I have fresh lemons and garlic.
For Thomas Keller’s simple roast chicken recipe, all you need is a good sea salt, a little pepper, fresh thyme, butter or oil and chicken. I use my Margarita Himalayan Pink Salt with a zest of lime to salt the bird. You can use kosher salt as well. A larger grain salt will be visible on the skin and produce a crunch.
I recommend 2 to 3 pound, free range chickens from White Oaks Pastures. Yes, they run about $4.50 a pound but since I use the carcasses to make a chicken stock, I want the chickens to have strong and healthy bones. Plus, they seem to have less fat since I do not skim much off the top of the stock when it is simmering.
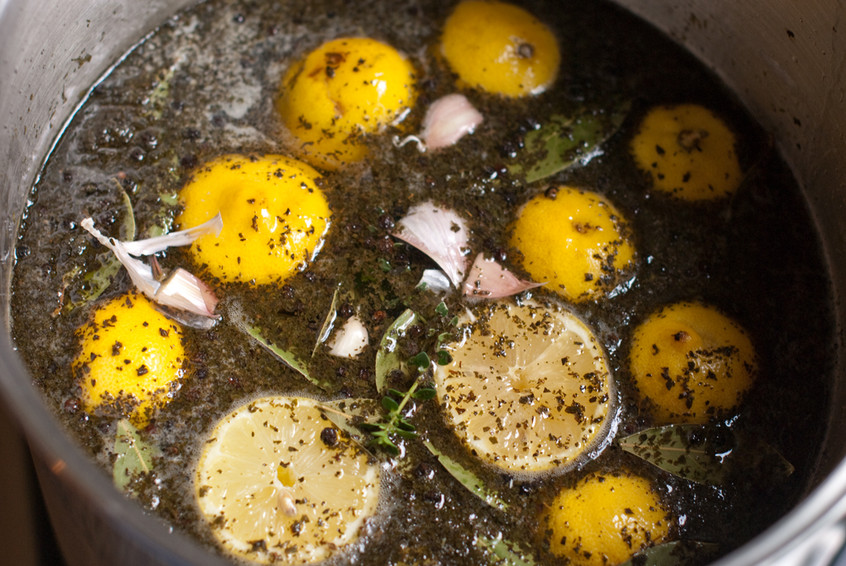
To make the chicken even more juicy, you need to brine it. You even wonder why the meat in fine restaurants tastes so much better, it is all in the BRINE. This takes some planning but it is worth it. I have brine frozen in mason jars so I can thaw it when I need it. If you have never brined your meat or fish before, try it one weekend.

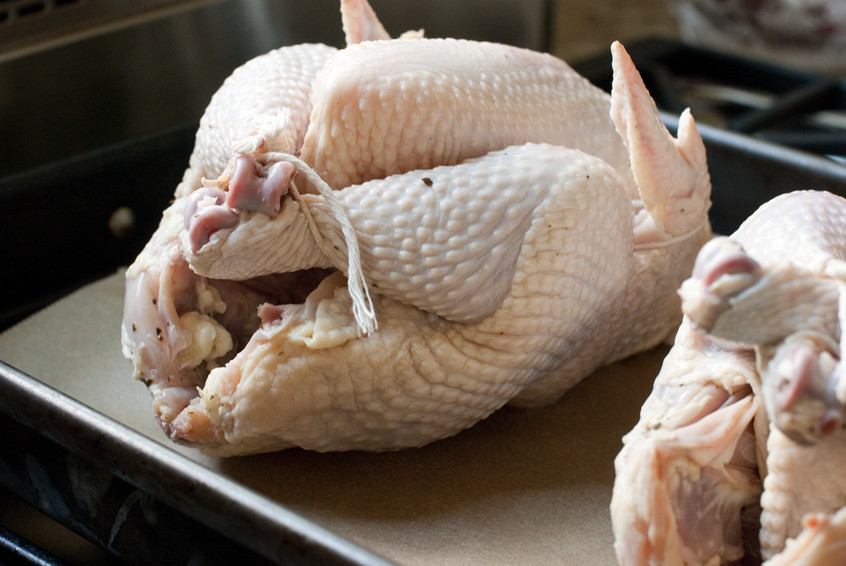
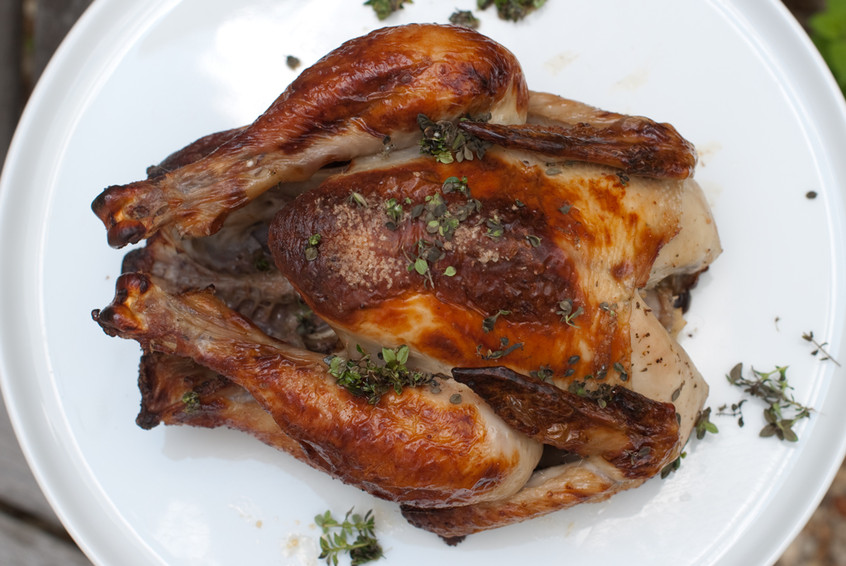
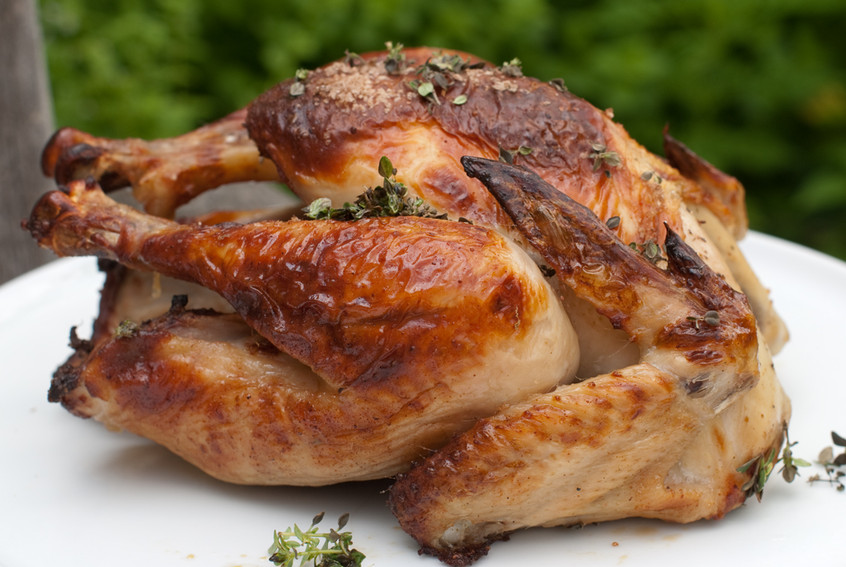
Now back to the roasting part. Rinse and pat dry the chicken and let it come to room temperature for about 45 minutes. Place the rinsed and patted dry chicken right on a cast iron skillet and salt the inside. Then truss it for a prettier presentation and rain salt over the outside. If you do not know how to truss and do not want to learn, do not worry about it. To prevent the wing tips from burning, “fold the wing tips back behind the neck, just as if you were putting your hands behind your neck.” (The wings in the picture below are not folded down and they burned.)

Place the chicken in the oven for 35-45 minutes at 425 convection or 450 conventional for 50-60 minutes. Now walk away and let it cook. No basting or turning is required unless your oven does not cook evenly. When the chicken has browned and the smell has filled your home, place an instant-read thermometer in the breast meat. The ideal temperature is 150 to 154 degrees F (66 to 68 degrees C). If it is not ready, place the chicken back in the oven.
When the breast or leg is at the right temperature, remove from the oven and baste the chicken in the juices and fresh thyme. Let it rest for 15 minutes before carving it so all the juices do not end up on the cutting board.

I roast two chickens at the same time and serve one for dinner and use the second the next night. Throw the chicken on a gruyere chicken melt, toss it in a salad or pasta, or make a soup. You can even make a roasted chicken sandwich with fresh pesto and take it to work.
Here is a recipe if you want to stuff the bird with lemons, garlic and herbs. When I do not have time to brine the chicken, I usually stuff the bird and cover the skin in a soaked cheesecloth to prevent it from drying out.
Directions from Thomas Keller- Bouchon
Preheat the oven to 450°F. Rinse the chicken, then dry it very well with paper towels, inside and out. The less it steams, the drier the heat, the better.
Salt and pepper the cavity, then truss the bird. Trussing is not difficult, and if you roast chicken often, it’s a good technique to feel comfortable with. When you truss a bird, the wings and legs stay close to the body; the ends of the drumsticks cover the top of the breast and keep it from drying out. Trussing helps the chicken to cook evenly, and it also makes for a more beautiful roasted bird.
Now, salt the chicken “I like to rain the salt over the bird so that it has a nice uniform coating that will result in a crisp, salty, flavorful skin (about 1 tablespoon).” When it’s cooked, you should still be able to make out the salt baked onto the crisp skin. Season to taste with pepper.
Place the chicken in a sauté pan or roasting pan and, when the oven is up to temperature, put the chicken in the oven. I leave it alone, I don’t baste it, I don’t add butter; you can if you wish, but I feel this creates steam, which I don’t want. Roast it until it’s done, 50 to 60 minutes. Remove it from the oven and add the thyme, if using, to the pan. Baste the chicken with the juices and thyme and let it rest for 15 minutes on a cutting board.
Remove the twine. Separate the middle wing joint and eat that immediately. Remove the legs and thighs. I like to take off the backbone and eat one of the oysters, the two succulent morsels of meat embedded here, and give the other to the person I’m cooking with. But I take the chicken butt for myself. I could never understand why my brothers always fought over that triangular tip?until one day I got the crispy, juicy fat myself. These are the cook’s rewards. Cut the breast down the middle and serve it on the bone, with one wing joint still attached to each. The preparation is not meant to be superelegant. Slather the meat with fresh butter. Serve with mustard on the side and, if you wish, a simple green salad. You’ll start using a knife and fork, but finish with your fingers, because it’s so good.

Here is a quick guide from my father’s cookbook on how to select a chicken and roast it to perfection. He was not a fan of trussing and neither am I since I do not like touching raw meat. It does make the bird brown more evenly so you decide if it is worth the effort.
Chicken Roasting Success Guide
|
| The Best Size: Find a small bird, about 3 1/2 to 4 pounds, to provide four servings. These birds may be labeled ?young chicken,? ?fryer? or ?broiler.? If you need more servings, roast two birds at the same time.Trussing and Tying: The idea of trussing or tying up a small bird is completely unnecessary. Many people like to salt the bird?s cavity and insert a lemon or onion before trussing. Such a technique may add some flavor to your pan juices, but be warned: Stuffing the cavity with anything will slow cooking time. One simple step you may want to take is folding the wing tips back behind the neck, just as if you were putting your hands behind your neck. The wing tips will burn if you skip this step.Salting and Seasoning: Salt rubbed on the outside helps the skin get crisp. Spices and herbs cannot reach the chicken through the skin, so they need to go directly on the meat. Loosen the skin by running your fingers underneath it, working your way over as much of the legs, thighs and breast as possible. Spread the seasoning between the skin and the meat in the same fashion.Butter and Basting: After salting, coat the chicken with butter or oil as insurance. A thin layer of fat on top of the salt will guarantee a golden-brown chicken. The fat can be melted butter (either salted or unsalted), soften butter or oil. Most of it melts off into the pan anyway.Pans and Racks: A 9 x 11-inch pan or a 11 or 12-inch ovenproof saucepan works best. If you put a small chicken in a large roasting pan, the juices will burn. As for racks, they are just not needed. Allowing the chicken to cook right in the juices makes the meat on the back of the bird particularly succulent.The Right Temperature: Begin cooking at 425 degrees for about 30 minutes and then 375 degrees for the remainder of the cooking time. If you are willing to watch the chicken closely, 425 degrees for the entire time works. The risk is that you will turn away for 10 minutes and the chicken will be overcooked.Turning the Chicken: You do not need to turn a small chicken. The most you may want to do is turn the roasting pan around in the oven if you know your oven is hot in one part.Determining When it is Done: There is nothing easier or more reliable than checking the temperature. The chicken is done when a food thermometer reads 180 degrees where the thigh attaches to the breast.Pan Sauce: While the chicken is resting, pour the pan juices into a fat separator cup or a measuring cup. After 1 to 2 minutes, remove the fat on the surface. What is left are simple pan juices that can be served as is.Serving: Cut the chicken into quarters. Poultry shears make cutting up the chicken very easy, but a good knife will do. If quartering the chicken is too difficult for you, go ahead and carve. Serve with the de-fattened pan juices. |
“There are no shortcuts to any place worth going.” Beverly Sills
References:
https://www.epicurious.com/recipes/food/views/My-Favorite-Simple-Roast-Chicken-231348#ixzz2cfHsqzPA
